We’ll walk you through how to get your home ready for fumigation treatment, especially ahead of termite season.

Understanding Fumigation Basics
Fumigation works differently from regular pest treatments. Instead of spot treatments or barrier methods, fumigation fills your entire home with specialized gas that penetrates all spaces.
The process typically takes 24-72 hours from start to finish. This includes preparation time, the actual treatment, and aeration afterward. Plan accordingly for your family’s alternative accommodation during this period.
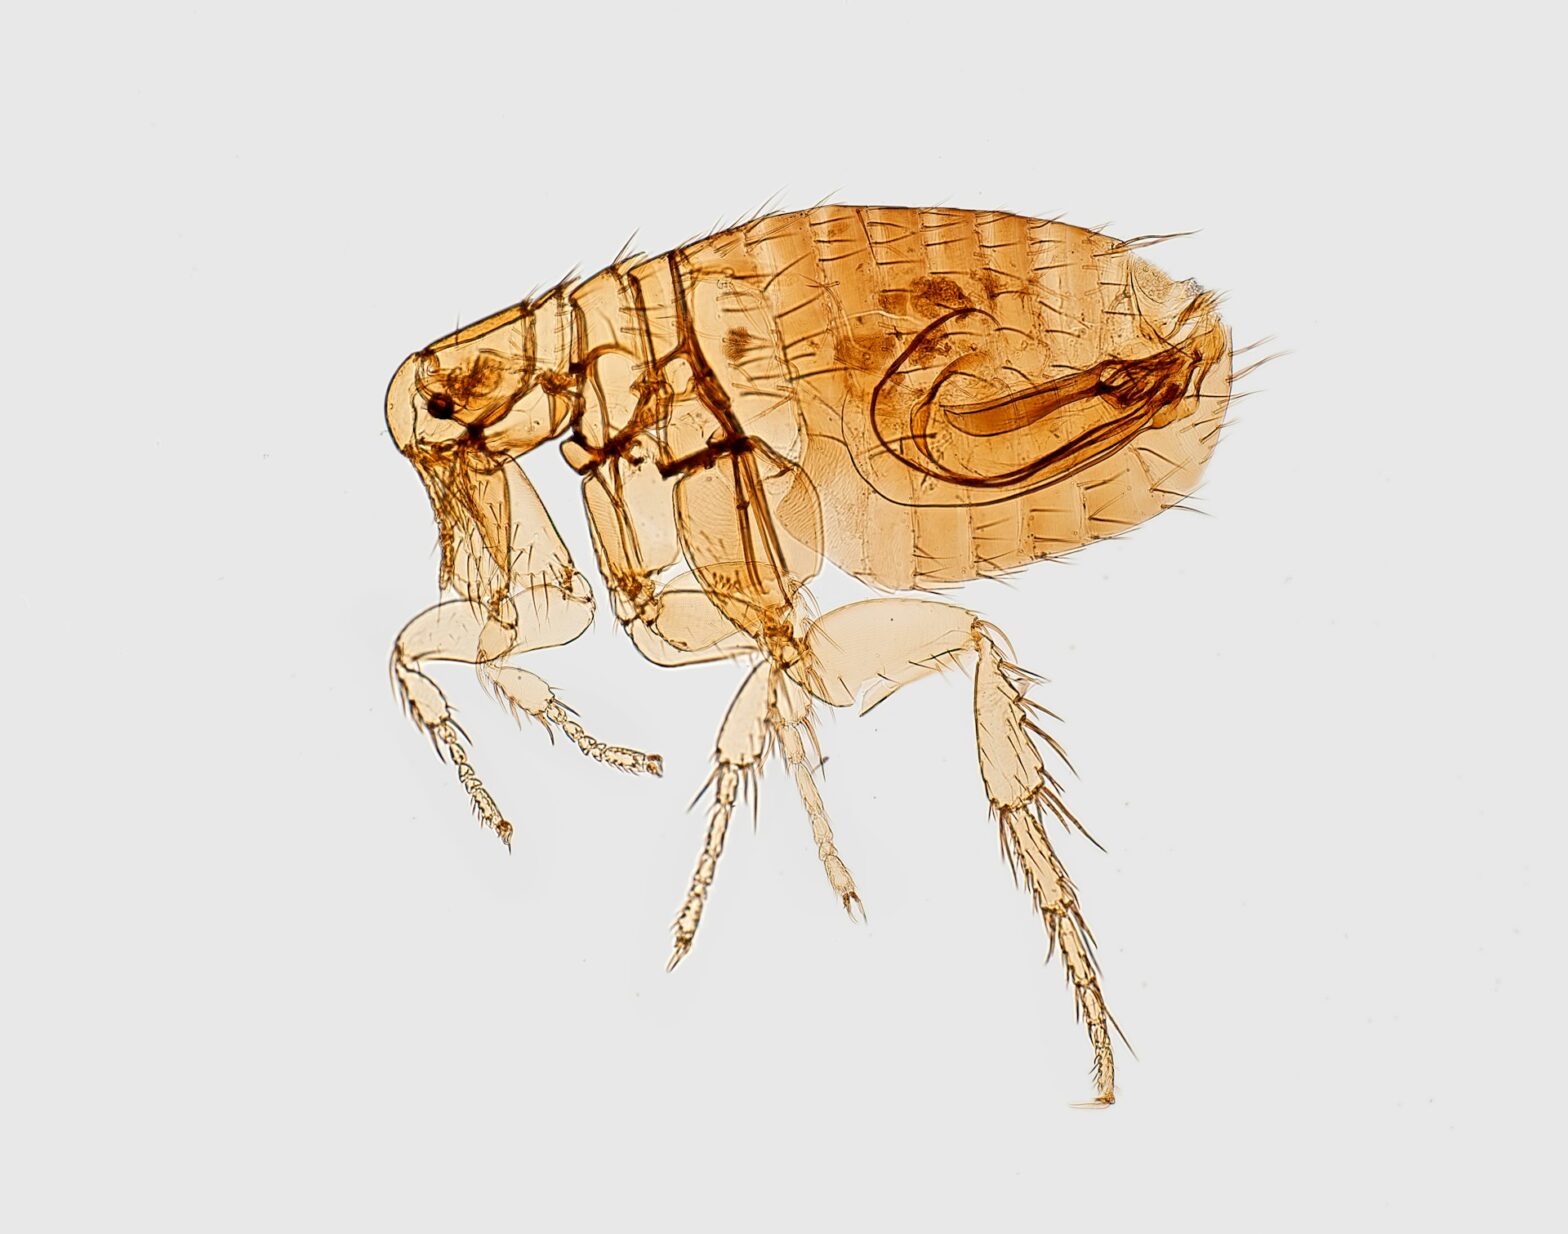
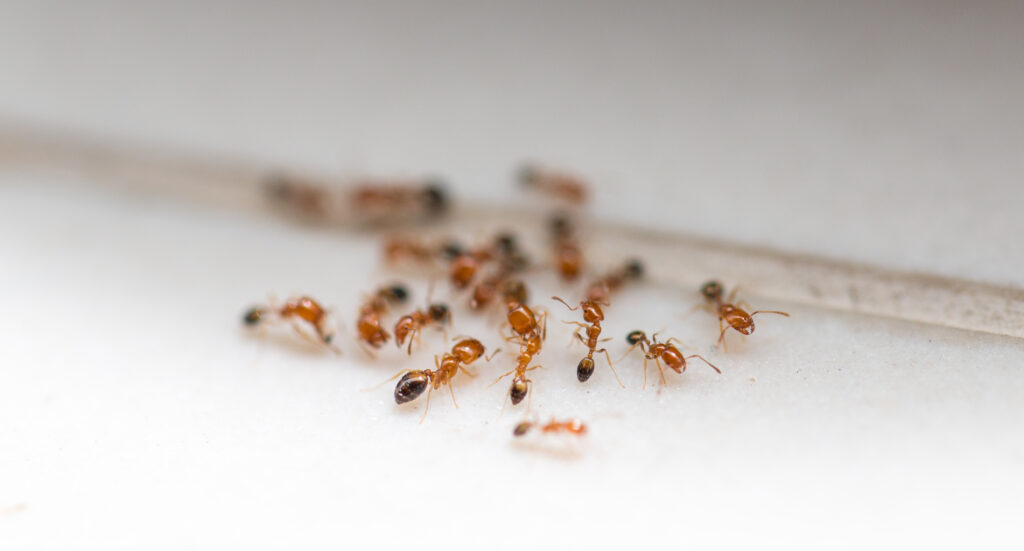
Fumigation works against many difficult pests like termites, bed bugs, and serious roach problems. It reaches pests hiding in places that standard treatments can’t access.
The treatment requires temporarily vacating your home. No exceptions exist for this rule. Everyone must leave during treatment and until professionals confirm it’s safe to return.
A professional will inspect your home before recommending fumigation. They’ll determine if this treatment matches your specific problem and explain why it’s the right approach for your situation.
Prepare Your Food and Medicines
Protecting consumable items ranks as a top priority when preparing for fumigation.
Remove or double-bag all food items in special fumigation bags. This includes everything in your pantry, refrigerator, and freezer. The rule applies to unopened packages, too.
Pack up all medicines the same way. Prescription medications, over-the-counter drugs, and vitamins all need proper sealing to prevent contamination.
Don’t forget about pet food. Seal it up or take it with you when you leave.
Check less obvious places where you might store food, like desk drawers, bedside tables, or children’s rooms. Even wrapped candy needs protection.
Remember that items like baby formula, protein powders, and dietary supplements count as food too. These need the same careful handling as other consumables.
Handle Plants and Special Items
Living things need special attention during fumigation preparation.
- Remove all houseplants from your home. The treatment affects living plant tissue and can harm or kill your indoor greenery.
- Take live food for pets (like crickets for reptiles) with you when you leave. These won’t survive the treatment.
- Consider removing wax items like candles if you’re concerned about them absorbing odors. While not strictly necessary, some homeowners prefer to remove these items.
- Valuable items with emotional significance might warrant removal even if not technically required. Use your judgment about family heirlooms or irreplaceable objects.
- Musical instruments, especially those made of wood, often benefit from removal during fumigation. The changing conditions during treatment might affect finely tuned instruments.
Prepare Your Home Structure
Your home itself needs specific preparation to make fumigation effective and safe.
Do these things to prepare your home for fumigation:
- Open all interior doors, including those to closets, cabinets, drawers, and storage areas. This allows the treatment to circulate fully throughout your home.
- Turn off air conditioning and heating systems. You’ll also need to turn off automatic timers for appliances, sprinklers, and lights.
- Open blinds and drapes partially to allow access to windows. This helps technicians secure the property and monitor the process.
- Clear access to all exterior walls of your home. Move objects away from walls inside and outside to allow proper sealing of the treatment area.
- Trim back branches or bushes that touch your roof or walls. The fumigation team needs clear access to cover your entire home structure.
- Cut back foliage touching your home to create a foot of clearance. This allows for proper tent placement without damage to your landscaping.
Plan for Your Family and Pets
Make hotel reservations or arrangements with friends/family well in advance. Remember that fumigation typically requires at least one overnight stay away from home, sometimes more.
Remember to bring important documents, laptops, and work materials you’ll need during your time away. Returning home to retrieve forgotten items won’t be possible once treatment begins.
Notify neighbors about the upcoming fumigation, especially if tenting will be visible. This courtesy helps prevent concerned calls about unusual activity at your property.
After the Treatment
Once the local pest control team has completed the fumigation and declared your home safe for reentry, follow these steps.
- Open windows and doors to air out your home. Even though professionals will have aerated the space, additional ventilation helps remove any remaining odors.
- Wipe down food preparation surfaces before using them again. This extra step provides added peace of mind when you resume cooking.
- Wash any exposed dishes, silverware, or cooking equipment. Items stored in sealed cabinets generally don’t need washing.
- Change your bedding for maximum comfort on your first night back. This removes any lingering treatment smells and creates a fresh sleeping environment.
- Check your home thoroughly for any signs of dead pests. While most will remain hidden in walls or other concealed areas, removing any visible ones helps your home feel clean again.
- Monitor over the coming weeks to confirm the treatment worked completely. The absence of pest activity confirms success.
Fumigation, when properly done with thorough preparation by the right pest control company, offers a powerful solution to serious pest problems.
Following these preparation steps helps the process work while keeping your family and belongings safe. The time and effort spent preparing pays off with a home free from unwanted visitors.